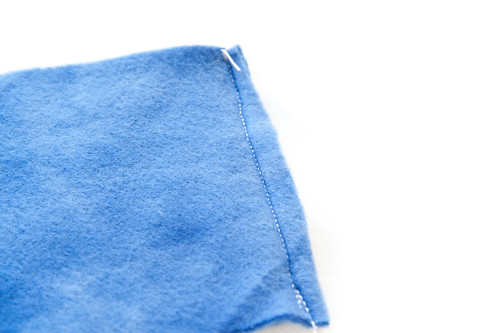
The first step is to cut a strip of fleece that fits around the head of the recipient. I tend to use 2-3" strips for children, and 3-4" for adults; use however wide a strip is most comfortable for you.

Pin the right sides together, and sew (I used 1/2" seam allowance)
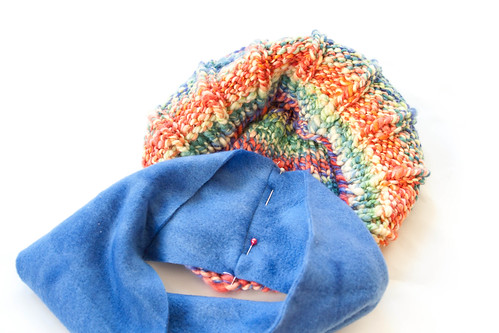
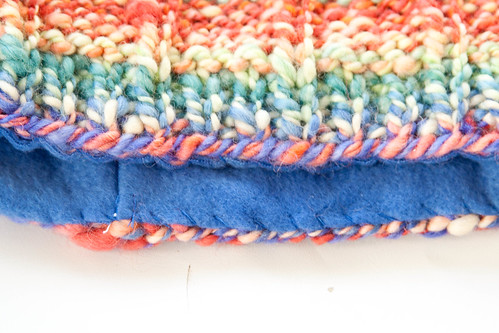
With wrong sides together, pin the back seam to the back of the hat (placement of the back really doesn't matter, the hat is a circle)
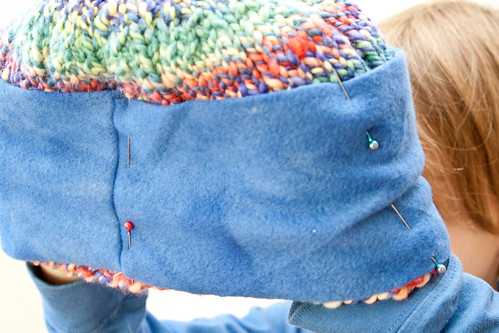
This next step is easiest with a helper. Have the helper stretch the hat and the fleece until taut, as you pin the hat in 4 (or more) places. It is useful to pin the bottom first, about 1/4-1/2" above where the edge is. If you have a rolled brim, or a ribbed brim you plan to turn up, be sure you pin it 1/4-1/2" above this point (so the fleece won't show when it's worn.
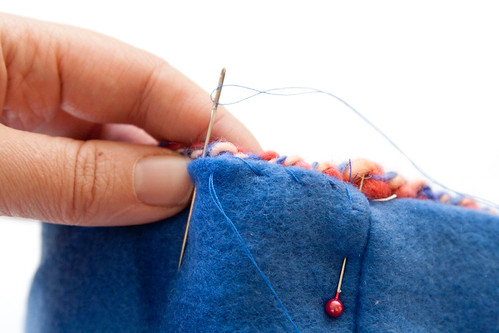
Using a similar colored thread, whip stitch the top part of the fleece to the top part of the hat.
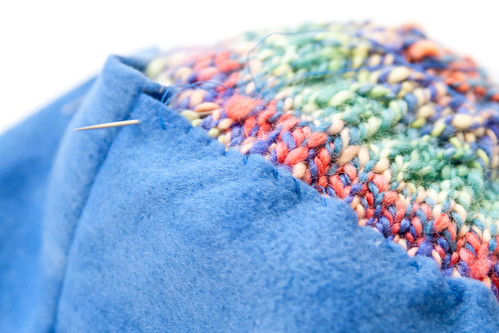
Once the top is sewn, sew the bottom to the edges together with a whipstitch.
Voila!
The hat will be warm, and will be less prone to stretching!
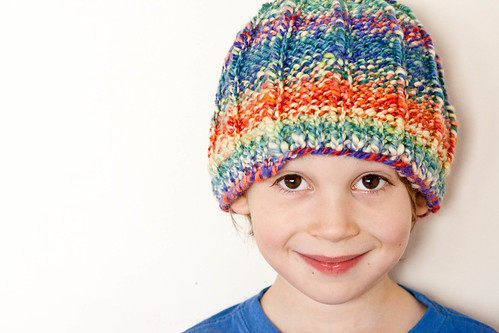
The hat pattern is a free download on ravelry. It was a lovely design. Yarn was spun by me.
No comments:
Post a Comment